

Store settings
A walkthrough of the dashboard's Store settings page — general info, SEO, API key, store transfer, and CSV import
Store settings is the dashboard's central place for managing store-wide information: owner and business basics, email addresses, search engine optimization, an optional API key for headless setups, and tools for moving data in and out (store transfer and CSV import/export).
Find it in the left navigation under Settings → Store settings. The page has five tabs: General, SEO, API key, Store transfer, and CSV import/export.
When the API key tab appears
The API key tab only appears once the General tab's required basics (owner, email, address, VAT, etc.) have been filled in and saved. A brand-new store starts with four tabs; the API key tab shows up as soon as the basics are complete.
General
The General tab holds the store's and the business's core information. Most fields are required because they're used in order confirmations, emails, shipping labels, and VAT calculations.
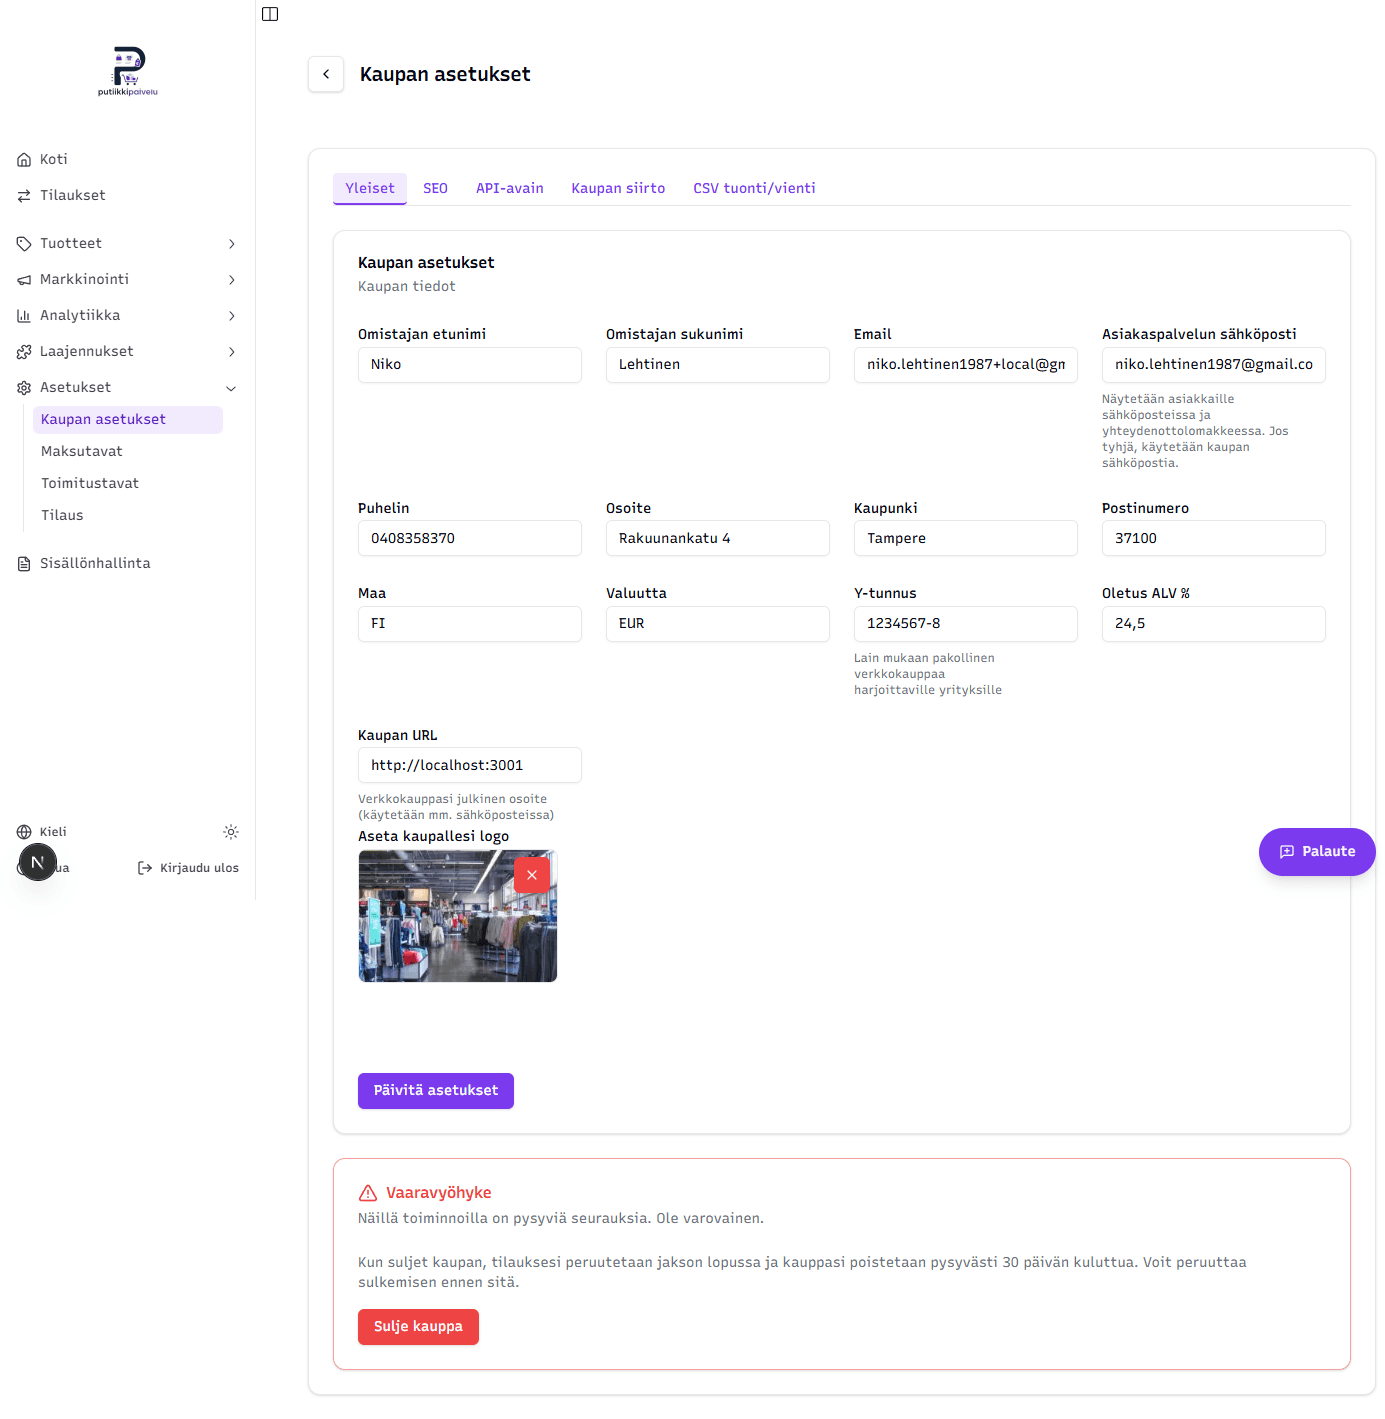
Owner and contact info
| Field | Description |
|---|---|
| Owner first name and Owner last name | Used among other things on shipping labels as the Shipit sender info |
| The store owner's email — required, see the detailed explanation below | |
| Support email | Optional public customer-service address — see the explanation below |
| Phone | Contact info |
| Address, City, Postal code, Country | Business address — also used as the Shipit sender address |
Email vs. Support email — what each one is for
These two fields are intentionally separate because they serve different purposes.
Email (required) is the store owner's own address:
- It receives store-related notifications (trial expiry, store-closure confirmation)
- It's the sender address on Shipit shipments
- It's used as the
Reply-Toon customer emails only when the support email is empty
Support email (optional) is the public address visible to customers:
- It's set as the
Reply-Toon every customer email (order confirmation, ticket confirmation, refund, sign-in links) - It appears in email bodies and as the contact link in the storefront footer
- It's used as the recipient of the contact form
- It also shows up in structured data (Schema.org / JSON-LD) for search engines
Why the split is useful
If the owner email is, say, niko@business.com and the support email is info@business.com, customers never see the owner's personal address. Leaving the support field empty also works — everything just funnels into the owner's inbox.
Business info
| Field | Description |
|---|---|
| Currency | Defaults to EUR. All prices are stored and shown in this currency |
| Business ID | Your Finnish Business ID (Y-tunnus) — shown in the storefront footer. See the note below on when one is actually required |
| Default VAT % | Used as the default for new products. Each product has its own VAT rate that can be overridden when needed |
Do you need a Business ID?
A Business ID isn't automatically required for everyone running an online store in Finland:
- Small-scale hobby activity (e.g. occasional handcrafts) may qualify as hobby income that doesn't require a Business ID. Profits still need to be reported on your personal tax return.
- Light entrepreneurship through an invoicing service is possible without your own Business ID — the invoicing service's ID is used on the invoices.
- The Stripe payment integration doesn't necessarily require a business and works for private individuals too.
- The Paytrail payment integration, on the other hand, requires a Business ID — to enable Finnish bank and mobile payments you need a registered business.
Check the scope and form of your activity against the Finnish Tax Administration's guidance before deciding whether to register a business or sell as a private individual.
Storefront URL
The Storefront URL is your store's public web address — a single source of truth that several systems rely on. Getting this right matters because a wrong URL means broken links in customer emails.
The backend uses the URL to build these email links:
- Email verification links (customer registration)
- Password reset links
- Abandoned-cart reminder links
- Digital download links
In addition, the Storefront API exposes the same URL to the storefront template (with the trailing slash stripped), and the template uses it for:
- The metadata base for indexing (
metadataBase) - The base URL of the sitemap and
robots.txt - Canonical URLs in Open Graph and Twitter share cards
- URL fields in structured data (Schema.org / JSON-LD)
Change with care
If you change the storefront URL, all previously sent email links can stop working. Only change it once you're sure the new domain is live, and update it the moment the switch is made.
Show the 30-day lowest price on discounted products
When announcing a price reduction on goods to consumers, the law requires you to also state the lowest price the product was marketed at during the 30 days before the reduction. With this option on (the default), your storefront shows that reference price automatically next to discounted products. Turn it off only if you sell exclusively to businesses or only services or tickets. Price history is recorded regardless of the setting. Read more in 30-day lowest price.
Logo
Drag a file in or click to upload. Supported formats: SVG, PNG, JPG, WebP. Max size: 2 MB.
The logo appears:
- In the storefront's navigation
- In order confirmation emails
- In structured data for search engines
Danger zone — closing the store
At the bottom of the form there's a red Danger zone box with a Close store button. The action:
- Cancels the Putiikkipalvelu subscription at the end of the period
- Marks the store for deletion in 30 days
- Sends a confirmation email to the owner
During the 30 days you can undo the closure with the Cancel closure button that appears in the same box. After that period, all store data (orders, customers, products) is permanently deleted.
Export bookkeeping records before closing
Finnish bookkeeping law requires records to be kept for 6 years. Before closing the store, export at least your order data as CSV or PDF — it can't be recovered after deletion.
SEO
The SEO tab controls how your store shows up in Google search results, social media share previews, and structured data.
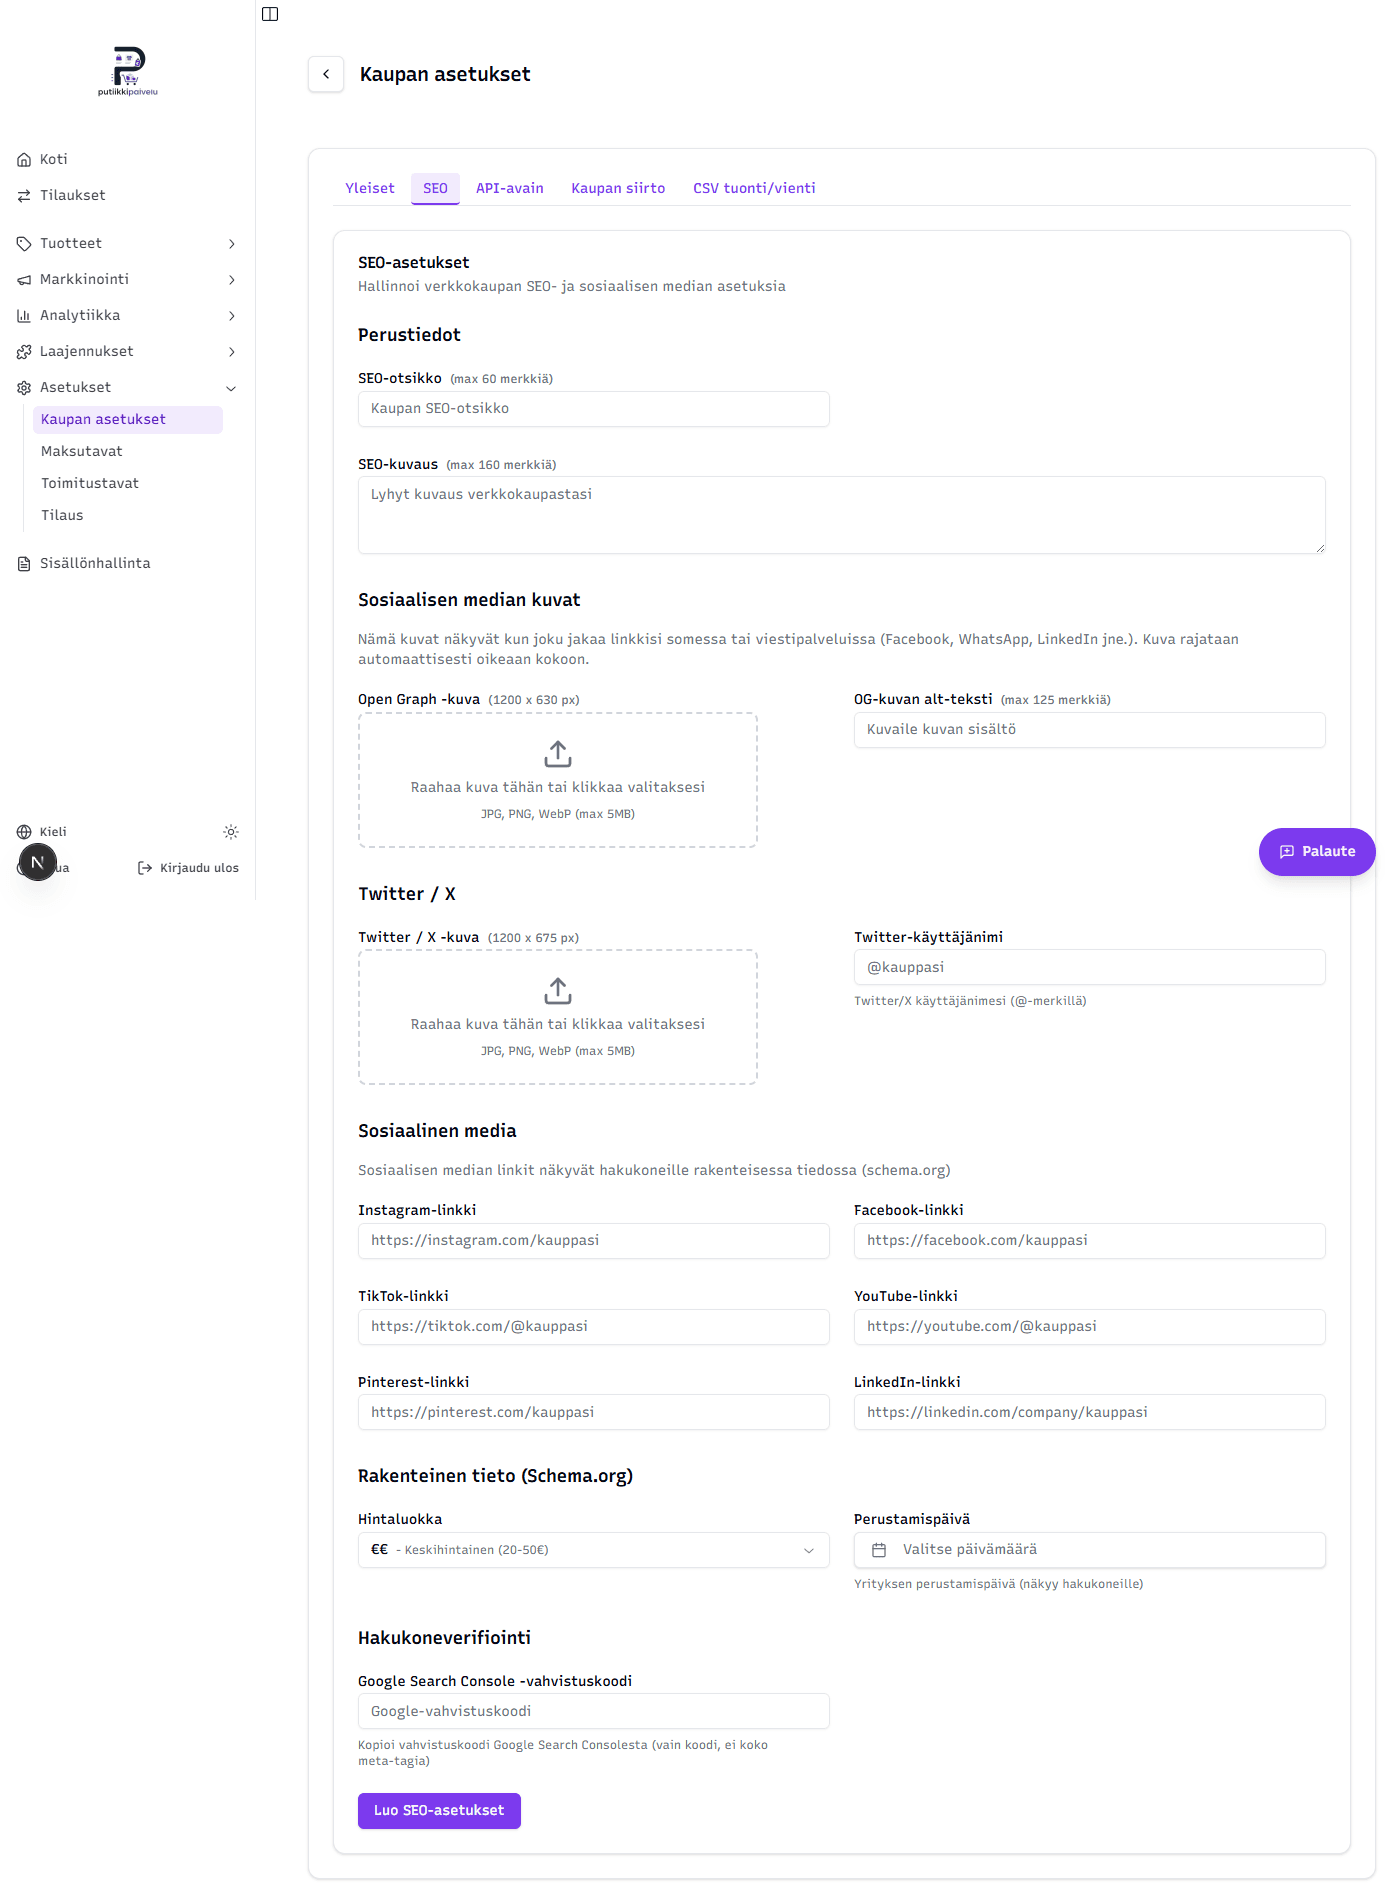
Basics
- SEO title (max 60 characters) — appears as the blue title in Google search results and in the browser tab
- SEO description (max 160 characters) — the short snippet shown beneath the title in search results
If you leave the SEO title empty, search engines fall back to the store's name; an empty SEO description means Google picks the description text on its own — usually a poorer result than your own copy.
Open Graph (social share images)
The Open Graph image is the picture shown when someone shares your storefront link on Facebook, WhatsApp, LinkedIn, or most other platforms.
| Field | Description |
|---|---|
| Open Graph image (1200 × 630 px) | The main share image. Recommended size 1200×630, JPG/PNG/WebP, max 5 MB |
| OG image alt text (max 125 characters) | Descriptive text for screen readers and as a fallback when the image fails to load |
Twitter / X
The Twitter / X card is shown when the link is shared on X (formerly Twitter).
| Field | Description |
|---|---|
| Twitter / X image (1200 × 675 px) | Twitter-optimized share image — slightly different aspect ratio than the OG image |
| Twitter handle | The store's X username with the @ prefix, e.g. @store |
Social media links
Social media URLs are shown in the storefront footer and in structured data. Fields: Instagram, Facebook, TikTok, YouTube, Pinterest, LinkedIn.
These are entirely optional — fill in only the ones you actually use.
Structured data (Schema.org)
Structured data helps search engines understand what kind of business you run.
| Field | Description |
|---|---|
| Price range | € (budget) – €€€€ (luxury). Appears in Google business info and influences how the store is categorized |
| Founding date | The business's founding date — confirms the store's age to search engines |
Search engine verification
The Google Search Console code adds a verification meta tag to the site's <head>. Paste only the content attribute value that Search Console gives you — not the whole HTML tag.
API key
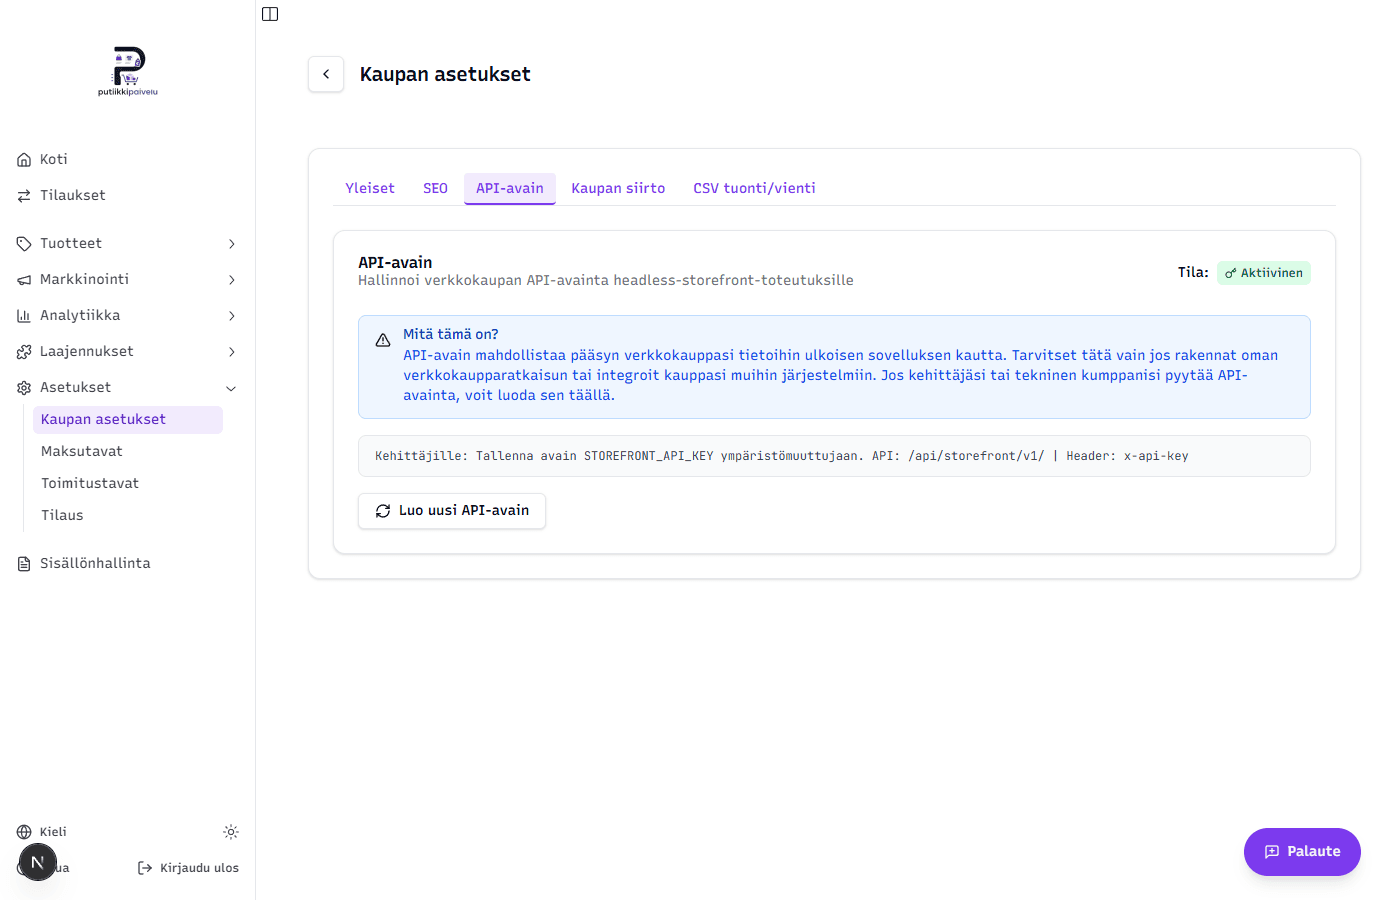
You only need the API key if you want to use Putiikkipalvelu in a headless way — that is, build your own frontend (e.g. Next.js, Astro, a custom React app) for the store, or integrate it with other systems. For regular users this tab isn't relevant.
You likely already have an active API key
Every store has its own API key, and your storefront template (the public-facing website your customers see) uses it to talk to Putiikkipalvelu. The key was typically generated when the store was set up, and you'll see its status on this tab as Active.
Don't generate a new key unless you have access to the storefront code and can update the new key into its STOREFRONT_API_KEY environment variable. Otherwise your storefront stops working the moment the old key is invalidated.
Generating a key
- Click Generate new API key
- The key appears in a text field — copy it immediately, it won't be shown again
- The status flips to Active
Technical details:
- The key is a 64-character random hex string (32 bytes)
- Only the SHA-256 hash of the key is stored in the database — the original is unrecoverable if lost
- A store can have only one active key at a time
Using the key
Add the key to requests in the x-api-key header. It grants access under the Storefront API tree:
Base URL: /api/storefront/v1/
Header:   x-api-key: <your key>
In the storefront template the key goes into the STOREFRONT_API_KEY environment variable, and the SDK package picks it up automatically.
Rotating the key
Click Generate new API key again. This:
- Replaces the old key with a new one
- Invalidates the old key immediately — any apps still using it stop working until they're updated with the new key
- Requires a separate confirmation in a dialog
Rotating the key is good practice if, for example, you suspect the old key has been leaked.
Store transfer
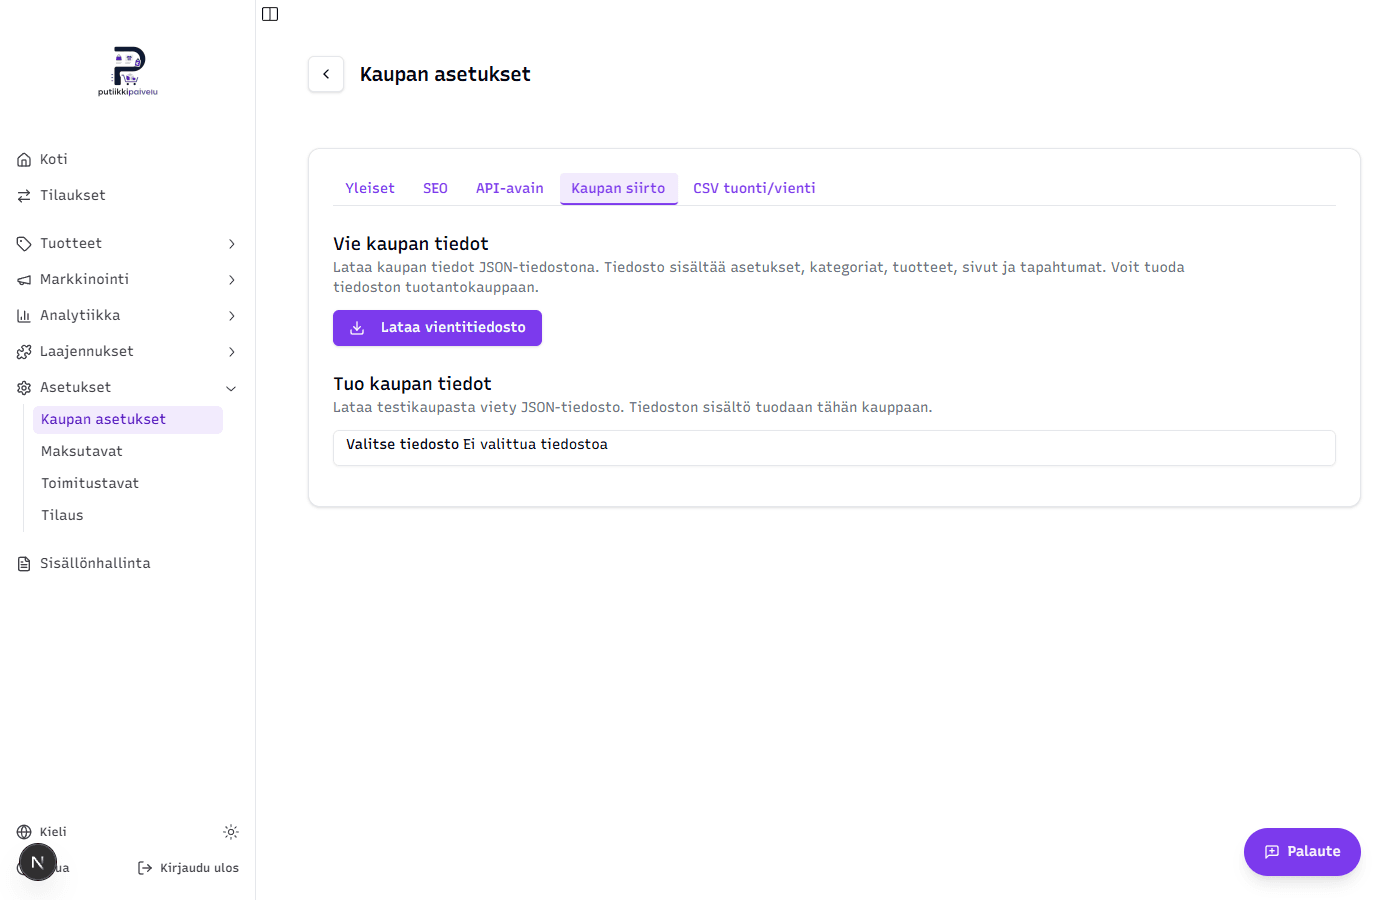
Store transfer is a one-click tool that exports the store's content to a JSON file and imports it into another store. It's especially useful when you've built things in a test store and want to move them to a production store.
Export store data
Click Download export file. The browser downloads a JSON file named store-export-YYYY-MM-DD.json (with today's date in the filename).
The file contains:
- Store settings (owner, contact details, VAT, currency, logo, storefront URL, image aspect ratio)
- SEO settings (titles, images, social links, schema.org info)
- Categories (the full tree)
- Variation types (e.g. Size, Color and their options)
- Events (ticket events with date and location info)
- Products with their variations and any ticket info
- Pages (CMS page structures with their content blocks)
Orders, customers, campaigns, discount codes, and payment integrations are not transferred — the export covers only the store's structure and content.
Import store data
- Pick a previously exported JSON file
- The preview shows how many categories, products, variations, pages, etc. the file contains
- Click Import store
The import runs as a single database transaction — either everything succeeds or nothing is saved.
What happens during import
Imported products start their price history at import time. If a product was already on sale when imported, no 30-day lowest price can be shown for it until the sale is removed and set again at least 30 days later. The Show the 30-day lowest price on discounted products setting does not travel with the file.
- Settings and SEO are upserted — existing values are overwritten
- Categories, products, and pages are created in the destination store as new
- Images are copied automatically in R2 storage from the source store to the destination (logo, product and variation images, SEO images, images in content blocks) — the URLs are rewritten to the destination store's paths
- A stats box at the end shows how many categories, products, variations, pages, and images were transferred
Slug conflicts
If the destination store already has a category, product, or page with the same URL slug, the import stops immediately and you get an error listing the conflicts.
The pages privacy and terms are exceptions — these are upserted on top of existing ones and don't cause a conflict.
Check the destination store before importing
If the destination store already has data, conflicting slugs need to be removed or renamed before importing. We recommend importing only into an empty store unless you know exactly what you're doing.
Versioning
The file's header contains an exportVersion: 1 marker. If the version doesn't match what the system supports, the import is rejected with the error "File version is not supported".
CSV import/export
CSV import and export is well suited for bulk operations — for example, importing a thousand products at once from an Excel file. You get a ready-made template, fill it in in Excel or Google Sheets, and upload it back to the system.
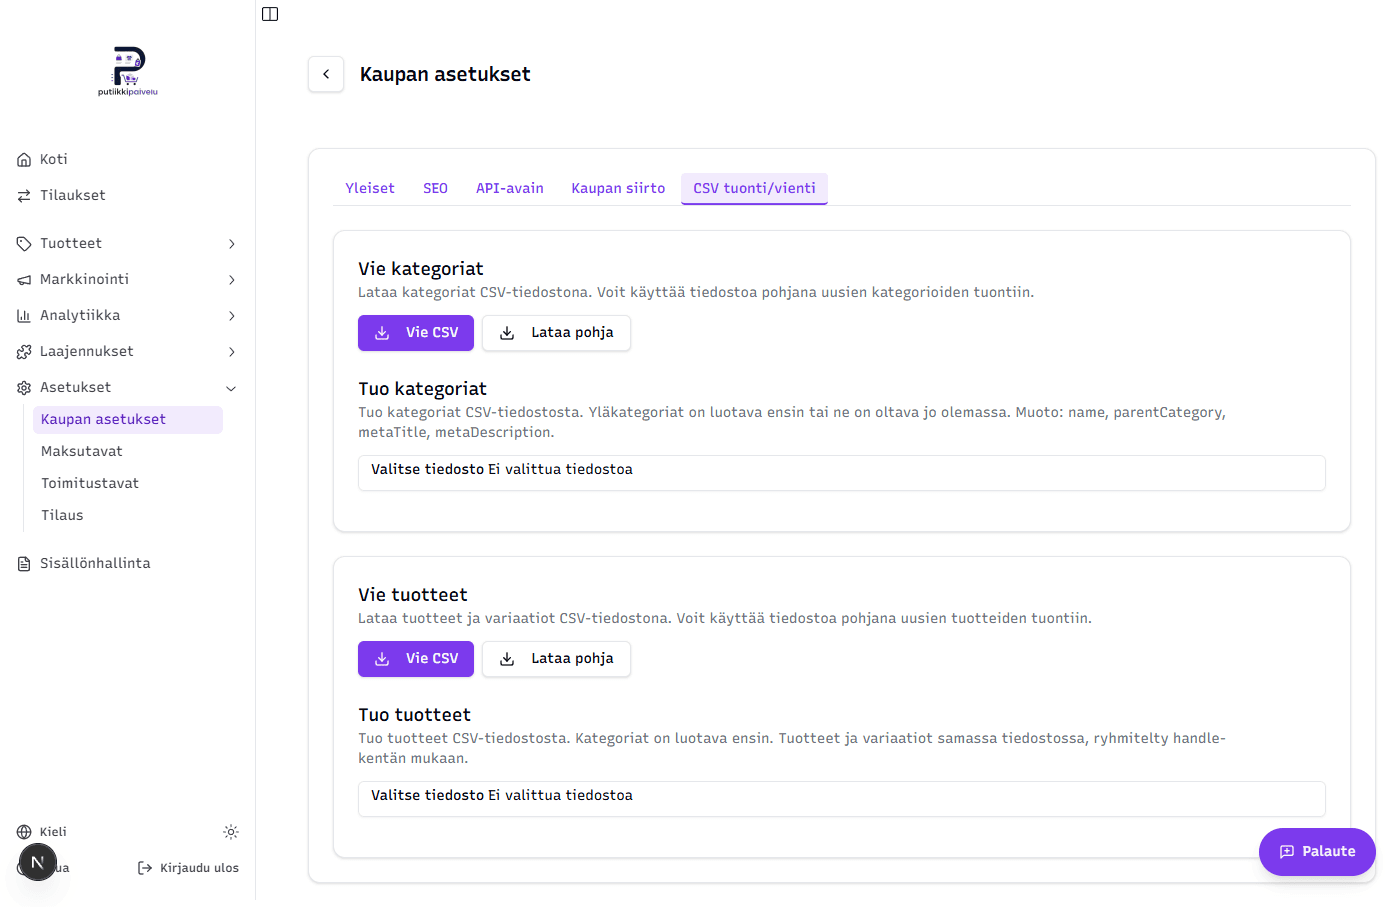
Categories first, products second
Products are linked to categories by name — so categories must exist first before they can be referenced in the products CSV.
Export and Download template
Each section (Categories, Products) has two buttons:
- Export CSV — downloads a file containing the current categories or products. Use this when you want to edit existing data in Excel
- Download template — downloads an empty template with just the header row. Use when starting from scratch
Category CSV format
| Column | Description |
|---|---|
name | The category name |
parentCategory | Parent category name (leave empty for top-level categories) — must already exist or appear earlier in the file |
metaTitle | SEO title |
metaDescription | SEO description |
Product CSV format
The product CSV is wider: it covers a product's basics, pricing, stock, sale pricing, SEO fields, up to three variation types, plus per-variation fields and image URLs.
Key columns include: handle (unique identifier for a product group), name, description, price, compareAtPrice, stock, category, sku, weight, vatPercent, salePrice, saleStartDate/saleEndDate, metaTitle, metaDescription, imageUrls.
Variations live on their own rows with the same handle value — using columns option1Name/option1Value … option3Name/option3Value, plus variantSku, variantPrice, variantStock, variantWeight, variantGtin, variantBrand, variantCostPrice, variantShowOnStore, and variantImageUrls.
Download the template for the full column list in the right order.
Preview and validation
When you pick a CSV file, the system reads it in the browser and shows a preview before importing:
- A summary: how many rows will be created, updated, or skipped
- A table preview of the chosen rows
- All errors with row numbers (e.g. missing required field, unknown category, malformed price)
The Import button only appears once the preview confirms there's something to create or update.
Product import — synchronous vs. asynchronous
The import mode is chosen automatically based on whether the CSV contains image URLs:
- Synchronous — importing product data without images runs immediately and the result is shown right away
- Asynchronous — when the file contains
imageUrlsorvariantImageUrlscolumns, the system creates a background job that:- Downloads images from the external URLs
- Processes them (aspect ratio, optimization)
- Updates a live progress bar (images and products tracked separately)
Aspect ratio for new stores
If your store has no products yet, importing products opens a separate dialog where you choose the store's image aspect ratio (e.g. 1:1, 4:5, 16:9). Choose carefully — all product images are cropped to this ratio going forward, and changing it later requires re-uploading every image.
Import mode
The product import uses create-only mode: an existing product with the same handle is skipped during import. This prevents accidental overwrites of existing products.